last Updated on November 30, 2023
Are you a Nigerian looking to create a Payoneer account in Nigeria so you can receive international payments? Here’s how to open a Payoneer account in Nigeria without hassles.
Payoneer is a popular online payment platform that allows individuals and businesses to send, receive, and manage their cross-border payments easily and securely.
Payoneer offers a convenient solution for freelancers, online sellers, and digital professionals in Nigeria, enabling them to access global marketplaces and withdraw their earnings locally.
You can open a Payoneer account in Nigeria through their official website. You just have to register for an account with accurate personal information, select the type of account you want, add a government-verified ID, verify your account, and link your bank account or ATM card to your newly created Payoneer account.
In this guide, we will walk you through the process of opening a Payoneer account in Nigeria.
See: How to Receive Dollars in Nigeria
How to Open a Payoneer Account in Nigeria


Opening a Payoneer account in Nigeria isn’t difficult, here are the steps to take when opening a Payoneer account in Nigeria:
1. Visit the Payoneer Website
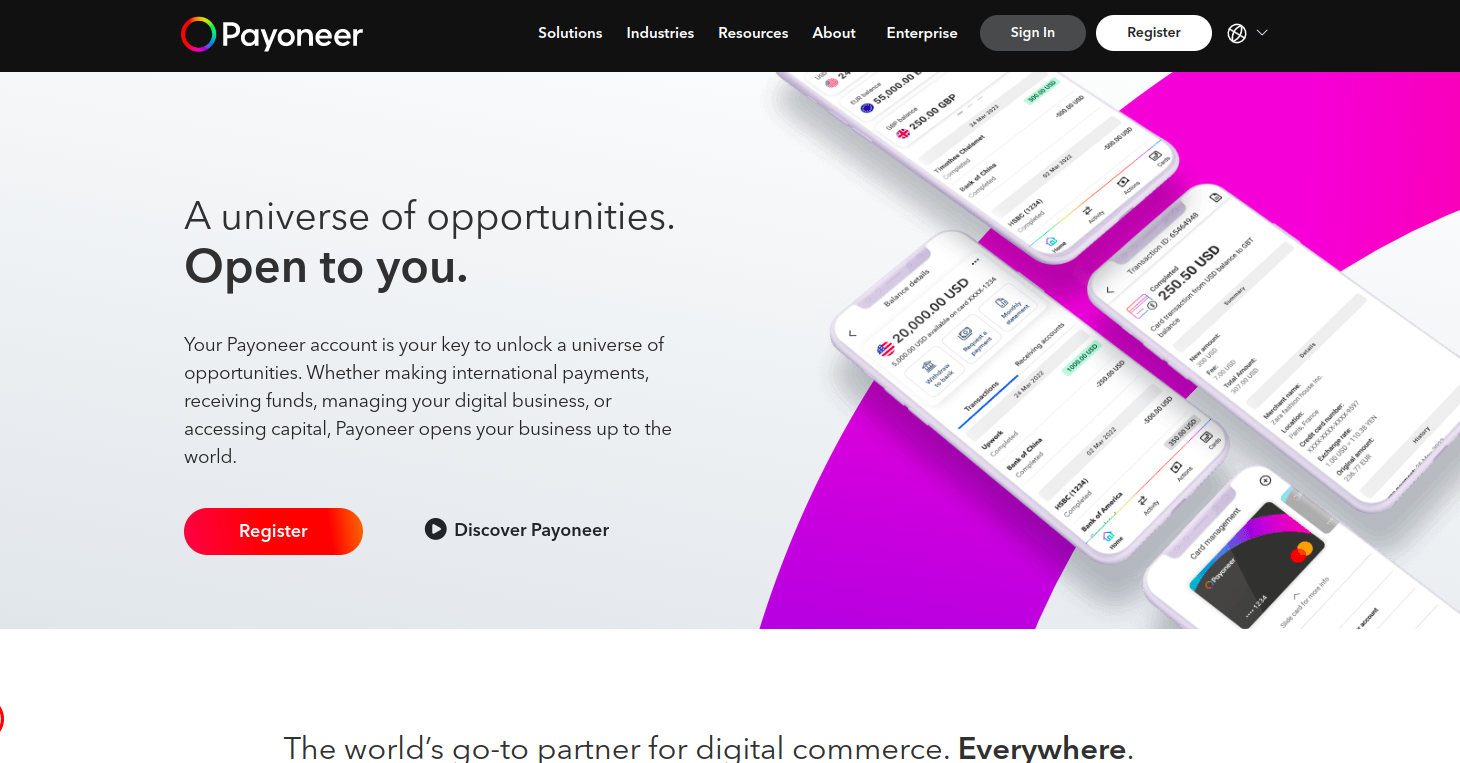
To create a Payoneer account, visit the official Payoneer website.
2. Start the Registration Process
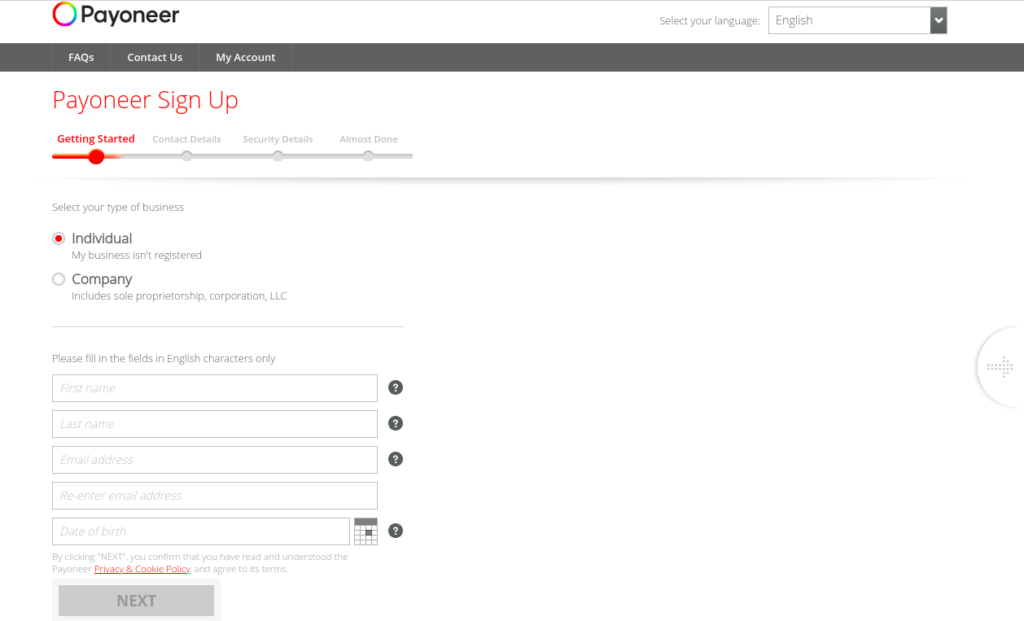
Once you’re on the Payoneer homepage, click on the “Sign Up” button located at the top right corner of the screen. This will direct you to the account registration page.
3. Provide Your Personal Information
On the registration page, you’ll be asked to enter your personal information. This includes your full name, email address, date of birth, and country of residence (which should be Nigeria).
4. Set Up Your Account Credentials
After entering your personal information, you’ll need to create a secure password for your Payoneer account. Make sure to choose a password that is unique and not easily guessable. Additionally, select a security question and provide an answer that you can remember easily.
5. Enter Your Contact Details
Next, you will be required to provide your contact details. This includes your phone number and residential address. Ensure that you enter accurate information as this will be used for verification and future communication.
6. Select Your Account Type
Payoneer offers two account types: “Individual” and “Company.” Choose the option that best suits your needs. If you are a freelancer or a sole proprietor, select the “Individual” account type. If you have a registered business, choose the “Company” account type.
Also See: How to Register a Business Name in Nigeria
7. Provide Your Government-Issued Identification
To comply with regulations, Payoneer requires users to verify their identity. You will need to provide a valid government-issued identification document, such as your national ID card, driver’s license, or international passport. Follow the instructions to upload a scanned copy or a high-quality photo of your identification document.
8. Complete the Verification Process
Once you’ve submitted your identification document, Payoneer will review it for verification. This process usually takes a few business days. You may receive an email from Payoneer requesting additional information or documentation if needed.
9. Accept Payoneer’s Terms and Conditions
Review Payoneer’s terms and conditions carefully and check the box to indicate your acceptance. It’s important to understand the platform’s policies and guidelines to ensure a smooth experience.
10. Receive Account Approval
Once your account has been approved, you will receive a confirmation email from Payoneer. The email will provide instructions on how to access and activate your Payoneer account.
11. Activate Your Payoneer Account
Click on the activation link provided in the confirmation email to activate your Payoneer account. This will redirect you to the Payoneer login page.
12. Set Up Security Questions
To enhance the security of your account, you will be prompted to set up three security questions and provide answers. Choose questions that are memorable to you but not easily guessable.
14. Link a Bank Account or Card
To fully utilize the features of your Payoneer account, you will need to link a bank account or card. Payoneer allows you to withdraw funds directly to your local bank. To link a bank account or card to your Payoneer account, follow these steps;
- Log in to your Payoneer account using your newly created credentials.
- Once logged in, navigate to the “Settings” tab located at the top menu of your account dashboard.
- Under the “Settings” tab, select “Bank Accounts & Cards” from the drop-down menu.
- On the Bank Accounts & Cards page, click on the “Add” button to add a new bank account or card.
- Choose the appropriate option between “Bank Account” or “Card“
If you choose to link a bank account, provide the required details such as the bank name, account holder’s name, account number, and branch information.
Make sure to double-check the accuracy of the information before proceeding.
If you choose to link a card, enter the card number, cardholder’s name, expiration date, and the CVV (Card Verification Value) number. Again, ensure that the information is correct.
After entering the necessary details, click on the “Continue” button to proceed.
The Payoneer will then initiate a verification process to ensure the ownership of the bank account or card. This may involve small deposits or authorization holds, which will be used for verification purposes.
You will need to monitor your bank account or card statement to identify these transactions.
Once the verification process is complete, return to the “Bank Accounts & Cards” page on your Payoneer account.
The status of your bank account or card should change to “Verified” if the verification is successful.
Congratulations! You have successfully linked your bank account or card to your Payoneer account.
This will enable you to transfer funds to and from your Payoneer account conveniently.
Additional Tips and Information on Creating a Payoneer Account
Ensure that the bank account or card you link to your Payoneer account belongs to you and is in your name. Third-party or joint accounts may not be accepted.
Payoneer supports multiple currencies, allowing you to receive payments in different currencies and convert them as needed.
You can add additional currency balances to your account under the “Balances” section in the account dashboard.
Payoneer offers various withdrawal options, including local bank transfers, prepaid Mastercards, and global transfers. Explore transfections based on your needs and preferences.
Stay updated with Payoneer’s policies, fees, and any changes that may occur.
Review their website, and FAQs, or reach out to their customer support for any assistance or clarifications.
Final Thoughts on How to Open a Payoneer Account in Nigeria
Opening a Payoneer account in Nigeria provides you with a reliable and convenient platform to manage your cross-border payments.
By following the step-by-step guide outlined above, you can successfully create a Payoneer account, complete the verification process, and link your bank account or card.
With your Payoneer account set up, you can now enjoy the benefits of easy payment transactions, global marketplace access, and secure fund management.


Leave a Reply